Background

Wednesday, December 21, 2011

TV Tray turned Checker Board Game

When I first came across this TV Tray I wasn't exactly sure what I was going to do with it, but then I came across a wood checker board. It fit so perfectly inside of the tray that I decided to make a fold up game table. I love playing games and at our house we seem to always run into storage issues, so I thought this folding TV Tray would work great for any household. I also decided to come up with a way to keep everything stored together, so I added magnet strips on either side of the game board and made checker pieces out of bottle caps, so when not being used they can be sit on the magnet strips. This game table measures 21"wide x 15"deep x 25" tall and I am selling it for $79. Below are some before and after photos...

Sorry, I don't know why it is downloading sideways, but here I painted and distressed the tray and added the magnet strips...

I distressed some paper and used Mod Podge to glue it to the tray and it hides the magnet strip pretty well.

I painted and distressed the checker board, layered it with Mod Podge for durability, and glued it to the tray. I also painted bottle caps, added a paper insert, and coated them with Mod Podge for durability.

Here is what it looks like finished and folded up!

Monday, December 19, 2011

A few fun seasonal items

Are you looking for a few last minute Christmas gifts? Here are a few fun seasonal items that I have for sale. Let me know if you are interested in any of them or if you have any questions. Most of these items are currently at Studio B and are gift ready. I will be at the Studio on Thursday, Dec. 22nd from 4:30pm-7pm if you would like to stop by. If you need anything before then, email me at judesigns@hotmail.com and I can arrange a time to meet you.

I am also currently working on a website that will list all of the items I have for sale and will have a gallery of items I have made over the past year. Here is the link to the website: Dippity Dot Creations.

Christmas Decor 2011

Christmas is almost here and things are hustling and bustling. I love to decorate for the Christmas season, so I thought I would post a few photos of how I used my Christmas decorations this year. My husband has put a kibosh on me buying any new decorations because he doesn't think we have any more room to store them, so as I mentioned last year I challenge myself to use the decorations I currently have and come up with new ways to use them to decorate. It usually takes me a day or two to complete the process, but I am usually tickled at the outcome. And by the way, as long as I don't get anything big, I can usually sneak in a few new decorations. ;)

I am always on the look out for neat centerpiece ideas that aren't going to cost a lot. How many of you are currently using Pinterest.com? I have immensely enjoyed looking through hundreds and hundreds of great ideas that are floating around on the internet through Pinterest and that is pretty much where the idea for this centerpiece came from. I really like the look of stacked glass plates, cake stands and bowls and adding colorful bulbs, greenery, and sprays. So that is what I did here. The wood deer I found on sale after Christmas last year for 80% off, so I snatched it up and it is small enough to fit in the Christmas tubs for storage so it won't upset my hubby. :)

Last year I posted a bulb wreath I made for under $30 and I loved it so much above the fireplace that I put it there again this year. On the mantel this year I added some glass vases and jars. On one of the vases I glass etched it with an ornament design and filled them with beads and bulbs. Two of them are sitting on a couple of white ceramic candle holders I found at a local thrift store. I also added some greenery, sprays, and beads to add color to the length of the mantle.

Here is a photo of the mantle, tree, and spot above our back door we like to decorate with a nativity set and lights.

Our two parakeets were running around while I was taking pictures, so I thought I would snap a shot of them kissing under the Christmas tree.

Here are some more decor snapshots, enjoy!

My son loves using the countdown calendar I made a few years back to keep track of how many days until Christmas and this year I displayed my Noel plate I made last year beside the fridge.

Here is the last photo and it is of the centerpiece I have on our kitchen table. I absolutely love the saying hanging on the tree..."The magic of Christmas is not in the presents, but in His presence." Have a wonderful Christmas season!

Sunday, November 27, 2011

Blessing Baskets/Gifts

My whole family was able to be together during Thanksgiving this year, so I put together Blessing Baskets/Gifts for them. The baskets included a few fun things for the kids, Orange Slices (which are one of my brothers favorite candies), sugared pecans and walnuts, fall candlering and pick and a "Blessings" magnetic/chalkboard sign. Since the Orange Slice bag wasn't fall'ish enough for me I wrapped them in a brown paper bag. I found a great crockpot recipe for sugared pecans and walnuts, so I made it and put them in paper cones I made from scrapbook paper.

The sign was something new I have been wanting to make, so this was the perfect opportunity. It is metal and one side is covered with burlap and I added the word "Blessings" in black vinyl. I made the magnets out of clay, painted them, and added magnets to the back.

The other side of the sign is painted in chalkboard paint and I added a design to it with white vinyl. I wanted to make some kind of magnetic chalk holder, so the chalk would be easy to get to to leave notes, words of encouragements, etc., so I took black ribbon and glued burlap to it. I then glued velcro to the ends, added a magnet, and viola - a chalk holder. :)

I really enjoyed the time I was able to spend with my family and hope you did too!

Thursday, November 17, 2011

Getting ready for Christmas

Dippity Dot is getting ready for Christmas. So many fun decorating and gift ideas I want to make and less than 37 days to make them in, yikes! I thought I would post some pictures of things I currently have for sale and are being displayed at Studio B, 115 N. Santa Fe, Salina, KS. If you see anything that you would like to purchase or have any questions, please drop me an email! Studio B will be open a lot more from now until Christmas, so be sure to check my Facebook page or email me for additional times. I can also let you in, if the times we are open don't work for you, so just let me know.

Friday, November 4, 2011

Repurposed Old Windows

I came across some neat old four pane windows for sale and snatched them up. There are so many fun ideas I have in store for them! I wanted to share some photos and the process in which I used for the Window Memo Board I just completed. I am pretty tickled with how it turned out!

Most of the paint was coming off of the window, so I scraped off the remaining loose paint and roughly added a black base coat.

I then decided I wanted to work with two other colors on top of the black to give it a good antiqued/distressed look. An easy way I have found to do this is by either using a pure soap bar, here I used Dove, or a taper candle. You rub the soap or candle across areas of the paint you want the black to show through. Once you add the next layer of paint and let it dry you can easily sand off the areas you rubbed with the soap or wax, because it will resist the paint!

I wanted to make this window very practical as well as decorative, so I added a magnetic chalkboard in the bottom right hand corner with key magnets. I used chalkboard paint on a piece of metal and glued it onto the window. I also added an upside down drawer pull underneath the window to hold chalk.

In the photo below you can see that I added bent keys at the top of the left window to hold a dry erase marker for leaving notes on the window. On the top right and bottom left of the window I added cork board, which I painted black and used a stencil to paint the wording and keys. I also made key thumbtacks to use on these cork boards. Like I mentioned earlier, I am really loving the way it turned out and hope that you were inspired as well. :)

Here is another old window memo board that I also just completed. I used cork board covered in fabric for two of the windows, took out the upper right window and added chicken wire, and kept the glass in the lower left window and added the word "Memo" with vinyl. For embellishments I added a neat old door knob with plate and an old hinge on the bottom to hold the dry erase marker. I made thumbtacks out of keys for the cork boards and finished it off with burlap flowers.

Here is a photo of an old window that was replaced in our basement. I have been wanting to do something with it, so I could use it in our front dining room. It is a work in progress, but I thought I would show you what I have done to it so far. Since our walls are very colorful I wanted to go with a slightly distressed white frame. I then designed the tree and the word "Life" on my computer and cut it out of vinyl on my Cricut. I turned the far right window pane into a cork board, so I can display sayings or pictures. I also added some old looking hardware at the bottom and haven't decided what I am going to do with the top yet. I plan on hanging a wire or string across the bottom to be able to clip more notes and photos. :)

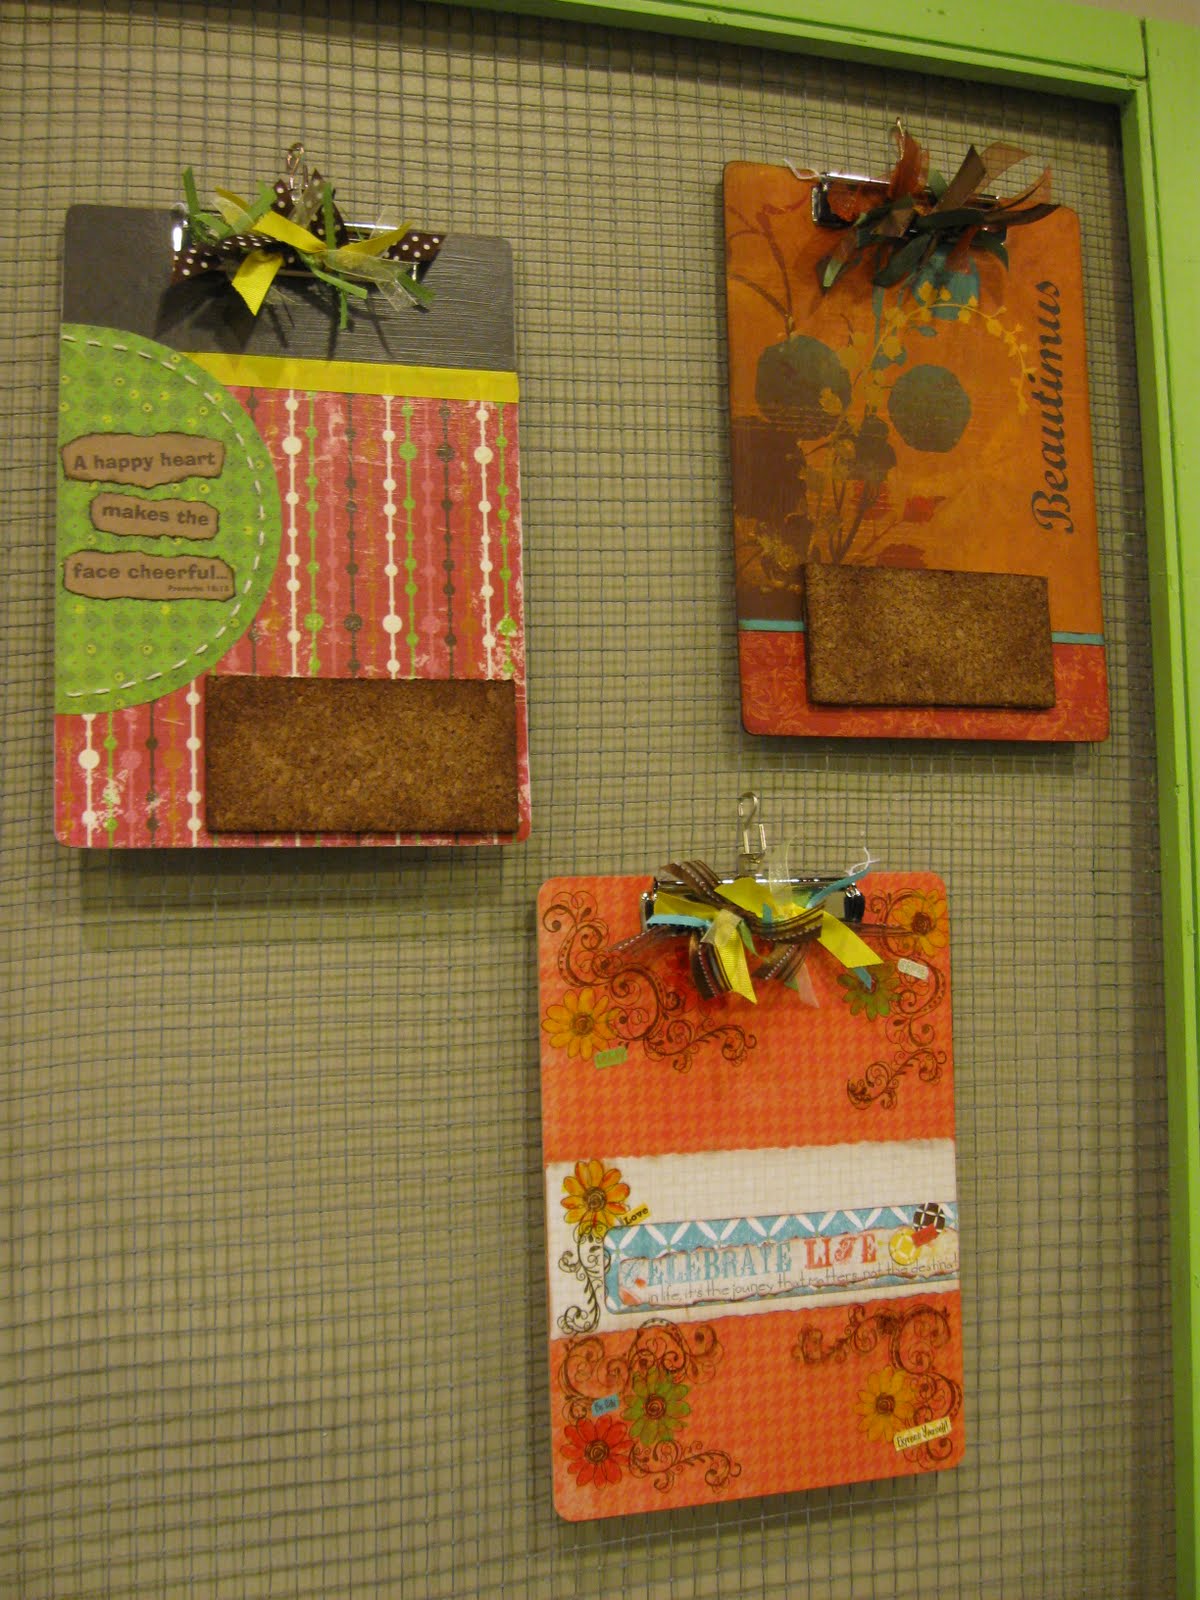
Yep,another one. This one is painted in a distressed black. Chicken wire was added in the right window pane, paper flowers are glued to the left window, and keys added to the bottom to hold the dry erase marker. The saying "Enjoy the simple things" is painted across the top.

Wednesday, November 2, 2011

Chipboard Journals & Altered Clipboards

Wow, I can't believe November is here already, which means Thanksgiving and Christmas are right around the corner! I haven't posted in awhile, so I thought I would share some photos of chipboard journals and altered clipboards I have completed recently to fill orders and to have for sale. Hope they will be an inspiration to you!

Below is a photo of a chipboard Photo Journal and Scrabble necklace I made for my niece's birthday. She got a camera for her birthday, so I was hoping that she would enjoy placing some of the pictures she takes into her very own album.

Below are a couple of Mom & Me journals I made for a mom who wants to use them with her daughters to write and answer questions back and forth to each other. What a great way to keep communication open between mother and daughters!

Here are some photos of clipboards I recently have altered. The photo below I took before adding the push pins I made and I can't seem to find the photos of the completed clipboards. The clipboard on the left has a verse from Proverbs and says "A happy heart makes the face cheerful". I made push pins out of buttons and added to the cork board. The clipboard to the right says "Beautimus", a word I use often to describe beautiful things I see. I make matching push pins out of glass beads and added to this board. There is a photo if it below. The bottom clipboard says "Celebrate Life".

The clip board on the left, in the photo below, is decorated with purple, white, and black paper and I added a white embossed bird that says "A bird doesn't sing because it has an answer, it sings because it has a song". The clip board on the right is a photo of the completed "Beautimus" clip board with push pins. You may recognize the magnetic wall hanging at the bottom from an earlier post. This is a metal hanging covered in decorative paper and hung together with brown ribbon. The flowers are magnets I made to use for easily hanging photos, notes and more.

This last photo is of a clipboard I made for a custom order. They wanted it to be as smooth as possible, so it could be used as a clipboard, wanted blues and greens, and wanted the saying from Mark Twain. In order to accomplish smoothness I only used a thin piece of paper to put the saying on and hand painted the flowers.

Monday, October 24, 2011

Autumn Decor!

I have so much fun decorating the house with Autumn colors! Here are some photos of some of the decorations I made or put together and am using. Hope they give you some inspiration. I will be adding more photos soon, so don't forget to check back!

I picked up this plate last year and wanted to display it on my kitchen counter. It was a little too plain to display all by itself, so I added a small fall swag and designed the saying on my computer and cut it out using my Cricut on black vinyl.

Here is a photo of a pumpkin I made out of an old book and used orange color wash spray to add color to it and painted the stem brown. In the back is a photo/recipe card holder that I made and added a recent picture my kiddos that was taken on our recent trip to a local pumpkin patch. For more photos and information on how I made the photo holder visit: Creating with Wood

This next picture is the decor on my counter in the dining room. I found the neat metal leaf piece on clearance last year. I added pumpkins and leaves for color. The jars and holder I found at a thrift store. I painted the holder black, cleaned out the pasta noodles and spaghetti out of the glass containers and think they are a great addition for height.