Background

Saturday, August 17, 2013

Master Bathroom Remodel


How many of you have done a total remodel of a bathroom?  Well, for those of you who haven't, let me just say, wow it is a lot of work and there are lots of decisions to make!

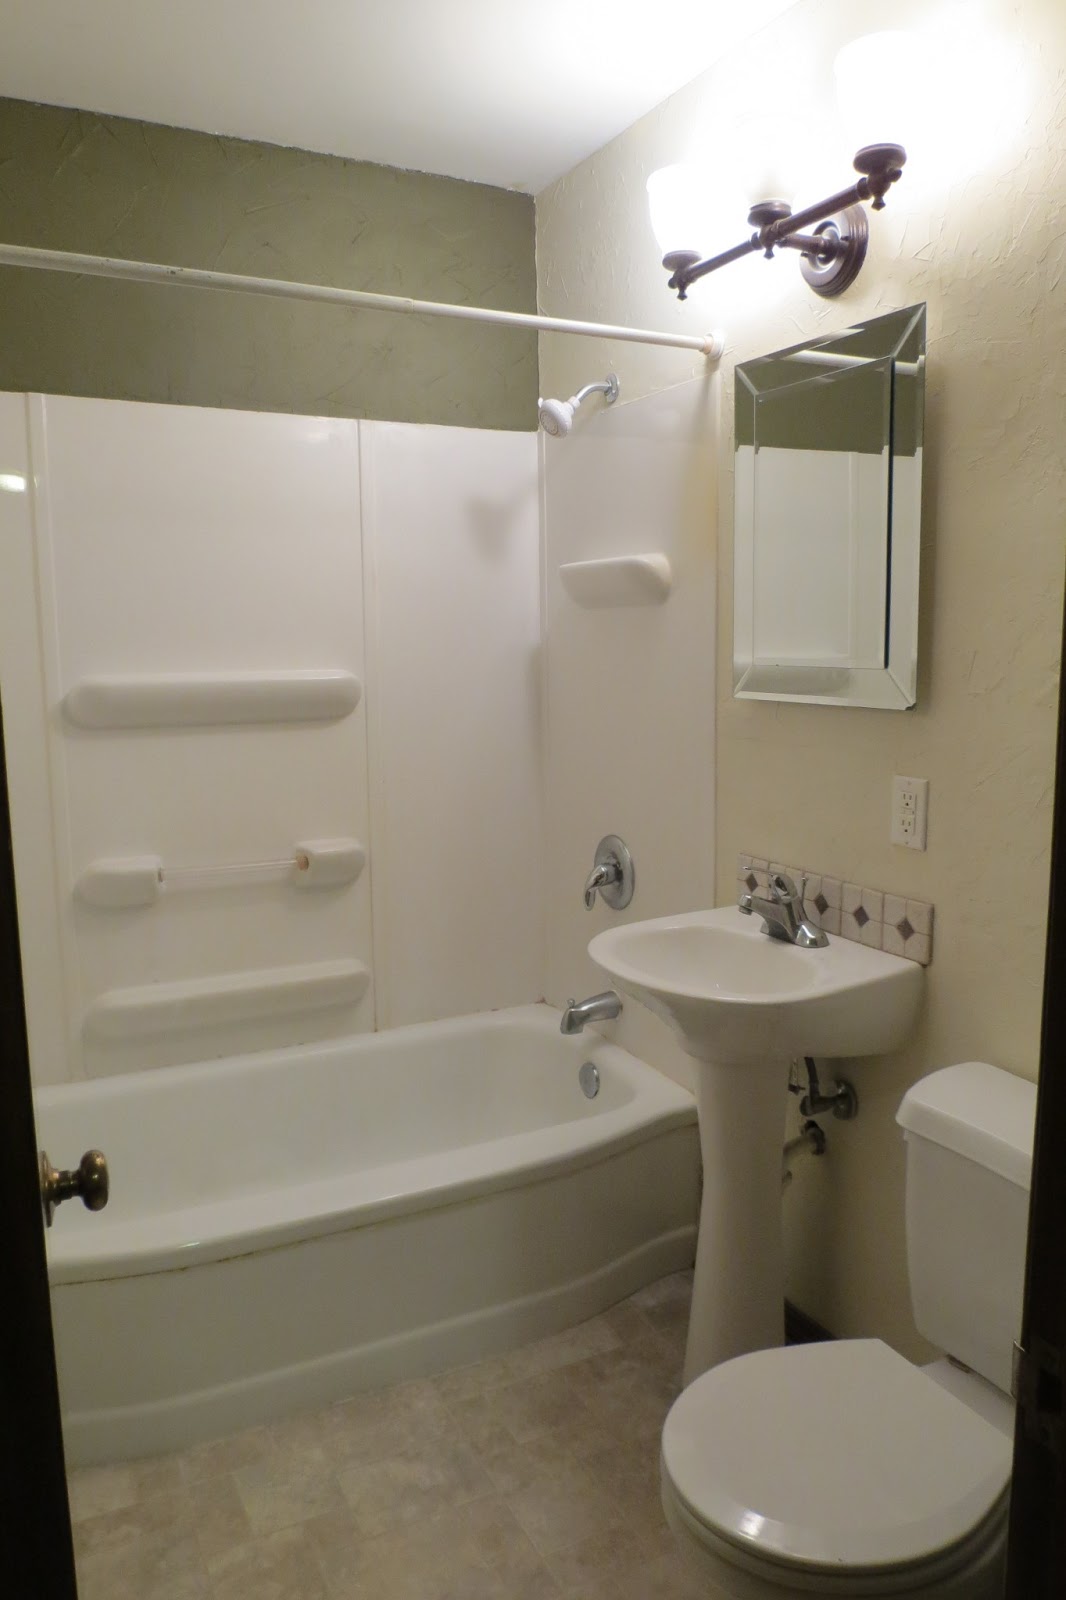
Above is a photo of our main/master bathroom.  It is long and narrow, so hard to get good photos of everything.  The tub was rusting out, shower tiles coming off the walls, carpet well worn, low ceilings, and only one sink.  We decided that since there was a good amount of repair work to do, just to go ahead and remodel the whole bathroom installing a walk-in shower and a vanity with two sinks.

Here is a photo of what our tub/shower combo looked like before.

 Here is a photo of the low ceilings above the sink area.

After making all of the decisions on the shower, vanity, counter top, etc., we had to wait about 7 weeks for everything to come in.  Once we received the call that the items were in and contacted our contractor, then it was go-time for removing the old vanity and starting the demolition!

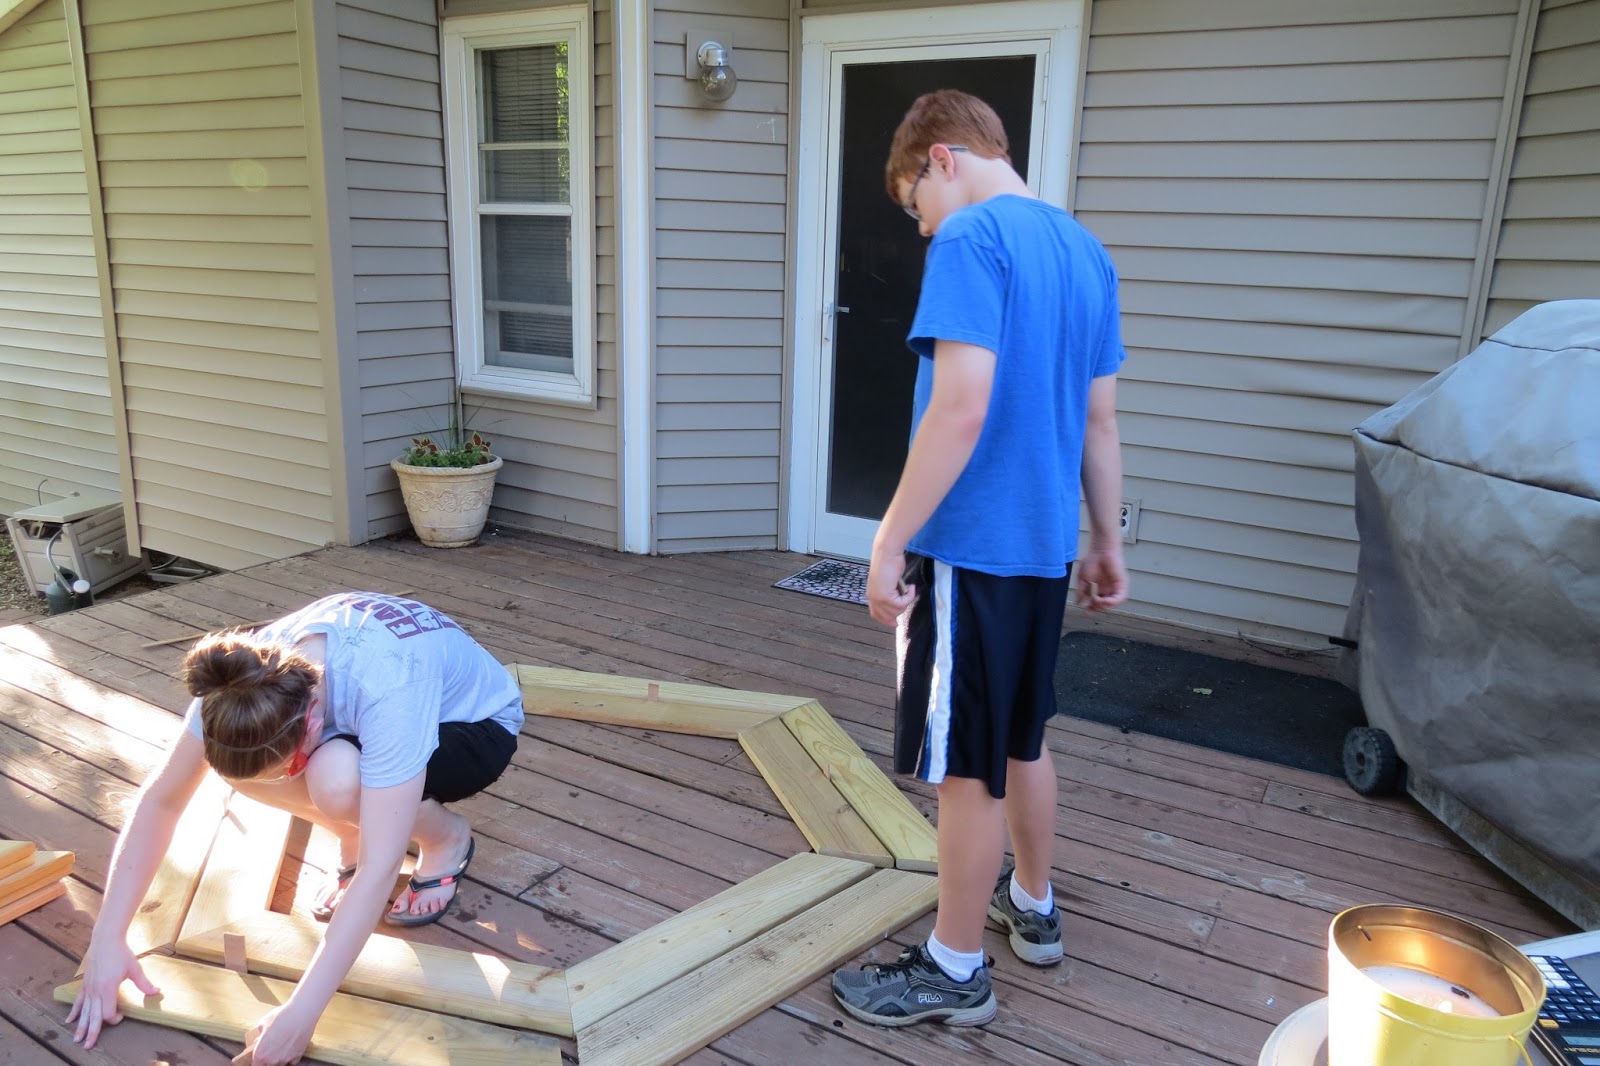
 As I mentioned in my post on the smaller/kids bathroom, we can do demolition, 
but we leave the re-construction/installation to the professionals. :)

 There was concrete board on one of the shower walls, so we were able to leave that 
and just remove the tile, but the other walls had to be ripped out.

For some reason there was a false ceiling, so we decided to open it up a bit, and tear it out.

The false ceiling is now gone, tub gone, and the floor cut out .  This helped the plumber be able to get to all of the plumbing, so he could move it from the west wall to the east wall.  We decided to go with just a walk-in shower, so once the plumbing was done, they built the frame work for the shower base.

Here it is with the Onyx shower base installed, sheet rock in, sanded and painted.

Then came the tiling of the shower and floor and putting in the new vanity and counter top.

The hubby and contractor, trying to figure out how to install the new very heavy glass shower door.

Found a couple of nice large mirrors on clearance and they fit perfect between the back splash and the new light fixture.  Also decided on what hardware to use on the vanity and installed them.  It was a bit nerve wrecking drilling holes into this new beautiful wood, but I made a template of where the holes needed to go and it all worked out nicely. 


 It is finally complete and we really love how it turned out!


Monday, June 10, 2013

Bench-Around-a-Tree


Last summer we added a small stone patio area around our chiminea in one of the corners of our backyard.  We have really started enjoying and using this corner more and I have been looking for ways to make it look nicer as well as add more seating. We have two large trees in our backyard (creating a lot of shade) and clay type soil, so it makes it pretty difficult for dressing up the bottom of the trees with plants.

I was excited to come across some instructions for a tree bench, on This Old House.  The perfect solution for what we were needing (ok, maybe "wanting" is more truthful).  Since the weather was soooo nice this past weekend, I was able to talk my family into helping me accomplish this project!  Even though the house is a wreck, due to remodel and repair projects going on inside (you can check out or small bathroom remodel here), I just couldn't pass up spending time outside with the family and what better way to do that than working on a project together?! (although my family would beg to differ)  Projects like this definitely builds patience and character. :)

Here is a "Before" photo of the bottom of our large oak tree.

Here is my family hard at work.  
Yes, my daughter is playing with a bug and my son is walking the planks. :)

We borrowed a miter saw from a friend and I loved using it!  My daughter also insisted on trying it.

Here is my daughter laying out all of the boards, to make sure things are fitting together, 
while my son supervises.

Here it is all cut and they all fit together nicely, at least at this point. :)

Here we are working on putting the legs of the bench together.

The legs are done and we spaced them around the tree to make sure we were able to avoid roots.
If I would have been paying closer attention, I could have flipped this one leg around, to
make a capital "F" for family project.

This part was the most time consuming and frustrating part, getting everything to line up!  
We got it pretty close, screwed together two sections, carried it out to the tree and then 
finished putting it together.

Once we got it around the tree and positioned it to miss all of the roots, there was one side 
that is a little whopperjawed, so there was more measuring and cutting that needed done, but
we got it figured out.  Now I just need to stain/treat it and it will be ready to use!  I have a lot
of limestone that I am thinking about putting around the bottom of the bench and for color plan 
on adding planters with flowers in a couple of areas on top of the bench.
If we can do it, you can too!


Thursday, May 30, 2013

Small Bathroom Renovation

There always seem to be repairs and upkeep, especially when you own an older home.  Over the past several years, my hubby and I have decided to prioritize our list and tackle one room or area of the house at a time, so we don't become overwhelmed financially, emotionally, or physically, .

This year, we decided to do some repairs and updating to our bathrooms.  This week we started tackling our small bathroom located in the front of the house, which is mainly used by our kiddos. We had done some updating to it about 5 years ago, so there isn't a whole lot that needs done, mainly repairing some damaged walls and updating the shower walls.  Below are photos of the progress. 


Above are photos of what the bathroom looked like before we started tearing it up.
Doesn't look too bad from a distance, but up close you can see the
damaged walls and the yucky cheap shower walls.


First Day:
 Excited to start repairing this bathroom! Shower piping capped, sink and toilet removed.  

Now time for the ugly cheap shower walls to come down!

 Demolition, my hubby and I can do.  Installation we leave to the professionals. :) 

Look what we found inside the wall, below the medicine cabinet.  Yes, hundreds of old razor blades.  Always interesting what you find when doing renovations. :)

Whew, a good first day!  All walls tore out, with only a few minor injuries.

Days following...
Plumbing for the shower head was raised, cement board installed around tub,
Sheetrock put up and walls muddied.  


Once the mud was dry, we sanded and primed the walls and ceiling.

Excited to get the walls painted, so we could re-install the light fixture.
It helps to see what you are doing. :)


The tile is finally getting installed and boy does it look sharp!

Almost done!  There are a few finishing touches (trim & painting), but it is usable again and it was so nice outside, that we decided to take advantage of it and built a bench around one of our backyard trees this weekend.  You can check it out here.


Tuesday, April 30, 2013

Paint Organizer for My Craft Area


I love to create, but I also love organization, so I am always looking for easy and inexpensive ways to keep things organized.  I have a little corner in our basement that is my "Craft Area" and since it isn't very big I continue to look for ways to keep it organized, so I have more space to create.  

Lately my paints had started taking over my work area, so I began looking for a solution.  

 I was thrilled when I came across this wonderful wood spice rack at a thrift store for less than $3!

 I applied some colorful spray paint and voila, it now helps keep my paints organized and off my work area!

 It is large enough to hold all of my paints and glues and even has space for more.


Wednesday, April 17, 2013

Springy Door Decor


Here is a quick post to show you my new inexpensive Springy door decor!  I across a couple of plastic oval frames at a thrift store awhile back and knew they would be perfect for something and they were!  I forgot to get a picture of what they looked like before I painted them, but they were a yucky gold color.


I got out the spray paint and started painting with some fun Springy colors!  Then I tore some cream colored fabric and tied the frames together. I was also able to find some pretty flower sprays at the Dollar Tree, which added the extra color I was needing. I really like how fun and different it turned out.  I am thinking of adding a chalkboard to one of the frames, so I can leave neat messages to our guests, postman, UPS man, etc.  Think that would brighten their day?


Cost:  Since I already had the spray paint and the fabric, this project only cost me around $5! 

**After my first post I decide to add a magnetic chalkboard to the blue oval frame and really like being able to leave messages on it!  The very first photo shows you what it looks like now.