Background

Friday, March 29, 2013

String Art Cross


Before posting more on my Kitchen Series, I thought I would share a project that I had my son's 6th grade class make, during their Easter Party this week.  I chose a stringed art project in which they made a cross out of nails and used colorful string for the design.

Here is how we did it:
I needed 15 wood pieces, so I used this very large piece of  old wood and cut pieces that were approximately  5" x 7".

I then created a template on my computer, so the kiddos would know where to place the nails.

Once the nails were in, then the fun part of using string to create a fun design.  We tied a knot on one of the nails and then wrapped it around the whole cross design.  Once that was done then you can go back and make any kind of design you want.  Some of the kids felt adventurous and used two different colors.  

Once they were happy with the result, we tied the string off and they were ready for the final step. 

The final step was to glue on the "Loved, Redeemed, Renewed" banner.  I also came across a neat saying that used these words and they glued it to the back.  It is my hope that they will use it as a daily reminder.

Here is my son hard at work getting his banner cut out, so he can glue it onto his project.


I was a little nervous about the kids using hammers and nails, but they did a great job and seemed to enjoy making this project.  Defiantly an easy, cheap and meaningful project for kids to make! 


Sunday, March 24, 2013

Kitchen Series - Weekly Menu Boards

During the month of March I have been posting great tools and items for the Kitchen on my facebook page, Dippity Dot Creations, and wanted to share them here as well.

One item/tool my family and I use on a daily basis is a Menu Board. We discovered a few years ago that by making a two week menu and shopping only twice a month for the items needed to make these meals that we were saving time and money. There are a variety of ways to post and display your weekly menu, from ones you can hang or use on your fridge if you have a kitchen with minimal counter space to ones that can set on your counter.

Below are a few ways in which I have upcycled items and turned them into Menu Boards.  Enjoy!  Feel free to email me at: judesigns@hotmail.com with questions or to place an order.  Also be sure to stop by my facebook page at: Dippity Dot Creations to see other ideas and items available for sale.


The Menu Board above was made from an upcycled metal book stand.  I spray painted it black, then painted the front with chalkboard paint, used vinyl for the "Menu" and days of the week, and finished it off with a distressed look.  I think this is great, because even for those of you who do not like using chalk, paper strips can be made and magnets used to attach them to this Weekly Menu Board.

This next Menu Board is a dry erase style.  I used a picture frame with easel and added designer paper to the inside.  I cut the word "Menu" and the letters for the days of the week out of brown paper and attached them to the designer paper inside the frame.  The glass on the frame serves as a dry erase board, making it easy to display and change your weekly menu.

For those kitchens that do not have a lot of counter space, a large magnet, like the one in the photo above, works great.  I use one like this in my kitchen and love it.  I digitally designed it and then ordered it on a magnet from Vista Print.  The material used works great to use as a dry erase Menu Board. 

I know that there are many other great ideas out there, so if you have one you would like to share, I would love to see it!   


Saturday, February 23, 2013

Re-purposed Clocks

I love clocks! I don't know why, I am just intrigued by all of the different designs and uniqueness they bring to decorating a home or office. That is why I enjoy re-purposing items into clocks. Here are a few photos of some projects I have completed, but there are so many more I plan on tackling, so be sure to keep checking back!

Feel free to stop by my facebook page Dippity Dot Creations, to see other projects I am working on and to check out what I have for sale. If you have any questions or would like to place a custom order, email me at judesigns@hotmail.com. Thanks for stopping by!

The photo above is a before picture of a large vintage metal server/platter I came across, when junking one day. The photo below is how it looks turned into a clock. I drilled a hole in the middle of the server/platter, added a clock mechanism and finished it by cut out roman numerals out of vinyl on my Cricut cutting machine.

Here is a photo of an old book that I turned into a clock.

Here is a photo of a small ceramic plate that I spray painted, distressed, added a vinyl design to and then added a clock mechanism. This size is fun to hang or display on an easel.

Friday, February 8, 2013

"Clean/Dirty" Dishwasher Magnet

I don't know about your house, but in our house my family doesn't seem to take the time to ask or check to see if the dishes in the dishwasher are clean before adding dirty dishes to it. I love that my family cleans up after themselves (most of the time), but it is so wasteful to have to rerun the dishwasher, because dirty dishes have been added to the clean ones. I decided that we needed a magnet. Even though my son's handwritten "Dishes are clean" sticky note was a cute reminder, it wasn't going to stick forever. :) After doing some searching on the internet I came across this neat clean/dirty dishwasher magnet idea. Here is how I made it...

I dug through my Scrabble pieces and retrieved the letters I needed. I then laid them down the way I wanted them and glued them together using wood glue.

I decided I wanted to add some color, so once the glue was dry, I painted and distressed it.

I then added a couple of high powered magnets to the back.

I didn't want it scratching up my dishwasher, so I cut a piece of felt and glued it onto the back to cover the magnets.

Voila! Here is the finished product! Now I just have to get my family to use it. :) Magnets like these can be ordered by emailing me at judesigns@hotmail.com or by visiting my facebook page at Dippity Dot Creations.

Sunday, February 3, 2013

Valentine Decor Items 2013

Hello! I thought I would share with you a few items I made for Valentine's Day this year. Be sure to stop by my Dippity Dot Creations facebook page to check out my other projects. Enjoy!

Below is a photo of the "Love you more" wood block I made using the items in the picture above. The "Love" is made from the metal of a pop can and then was embossed. I really like how it turned out!

Below is a photo of a candy dish I made from clay pots and a glass bowl. The metal tag is stamped with the saying "you are my happy".

The next photo is a framed "I love you because" dry erase board. A fun and easy way to leave and change messages.

Tuesday, January 15, 2013

Decorating for the New Year

If you are like me you enjoy decorating for Christmas, because it adds fun colors and fullness to your home, but dread the after Christmas blahs. To help with those blahs, every year I challenge myself to come up with a new decor arrangement, using decor items I already have on hand. Last year I chose to make a wall of frames in our formal dining room with frames I had been collecting. Check it out on my "Frame Wall" post.

This year I chose my fireplace mantle. Below is a photo of how sad it looked after removing the Christmas decorations.

After going through a variety of my thrifty finds I came up with the arrangement below. The great thing about the arrangement, besides already having all of the items, was that all of these items were found at thrift stores, garage sales, clearance racks, or given to me. So the total cost of this arrangement is only around $10!

My goal for this year is to create an art piece to add to the mantle, but for now I like how it turned out.

Tuesday, January 1, 2013

Memory Jar

Happy New Year! Life at times moves so fast and since we are unable to slow it down, I love discovering ways to cherish the memories. One blog I enjoy following is Teresa Collins. She just recently shared a wonderful idea of using a memory jar to help cherish and record all of the years memories. I was so excited about this idea that I got started on one for my family right away. With a little bit of time, glue, fabric, vinyl, paper, and pen it is complete.

Here is what I did...

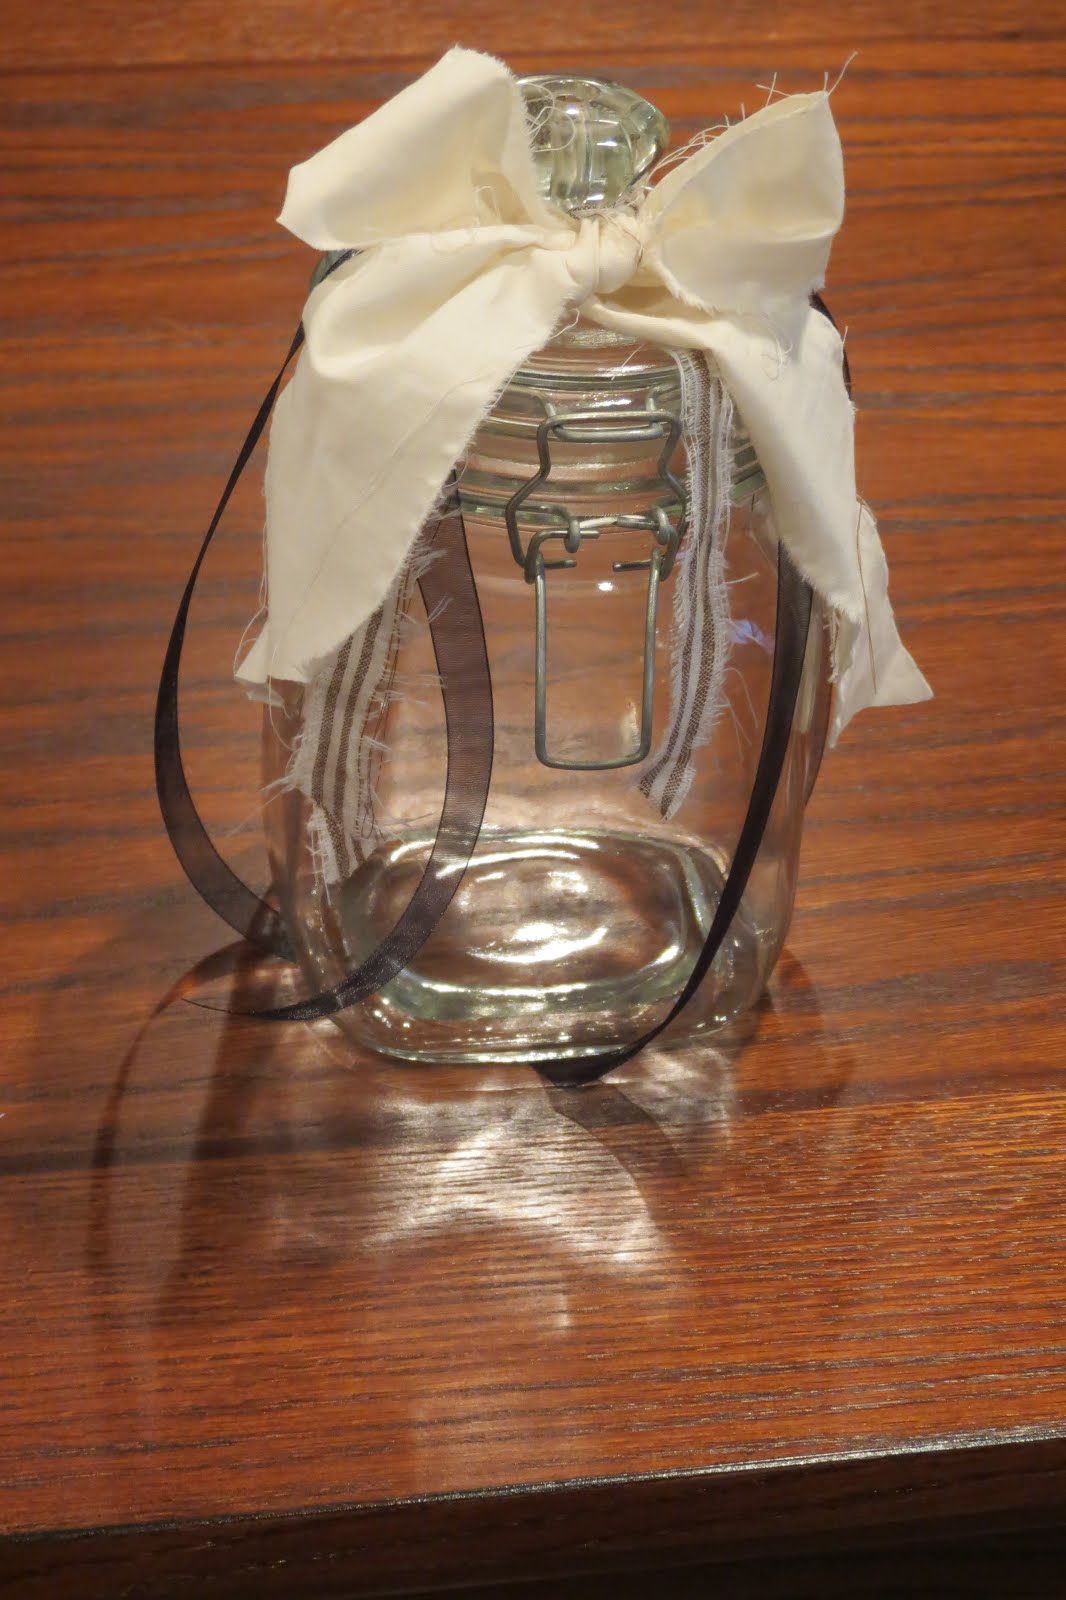
I had picked up this jar at a thrift store (love thrifty finds)a few months back and it was just waiting for me to beautify it and bring it to life. :)

I cleaned off the labels and stickers (Goo Gone works wonders!) and decided I wanted to dress it up a bit with an old clear glass knob that I found junk'in along the way.

Once the glue was dry, I started tearing fabric and cutting ribbon and added it around the knob to dress up the top a bit more.

I felt like the front of the jar needed something too, so I created a design with vinyl to add to the front that says "memories". This will also hopefully help remind my family of the purpose of the jar. :) I had picked up the notepad on one of my trips to Michael's dollar spot. It was a bit too wide to fit into the jar, so I cut it down a bit.

Now it is ready for 2013 memories!